Android Email Configuration
The steps and dialogs listed below are from an LG G-Pad running Android Version 4.2.2, so the steps may look a little different for another version or device. If you have any questions about these steps, please contact us.
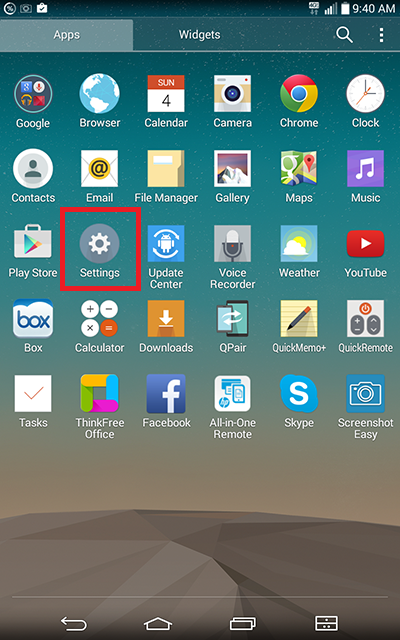
Step 1: Open Settings.
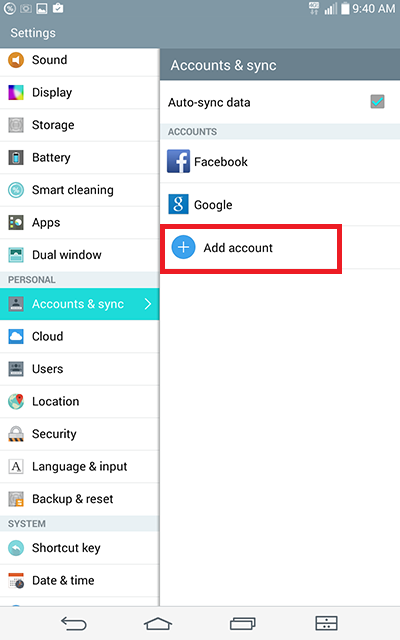
Step 2: Choose Account & sync and select Add Account...
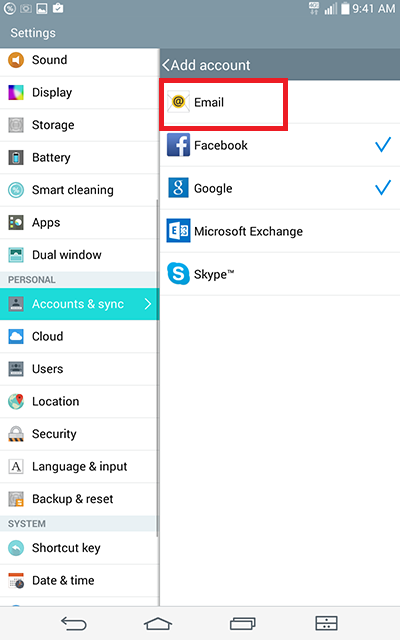
Step 3: Choose Email.
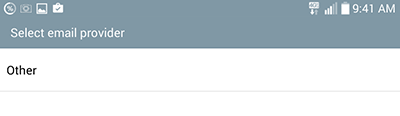
Step 4: Choose Other then select Next.
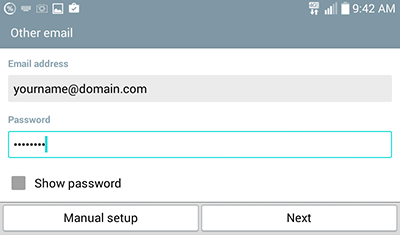
Step 5: Fill in your e-mail address and password given to you, then click Next.
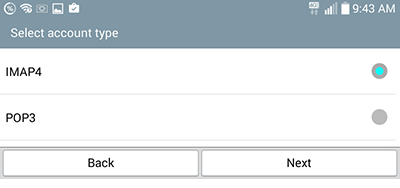
Step 6: Choose IMAP4 for the account type and select Next.
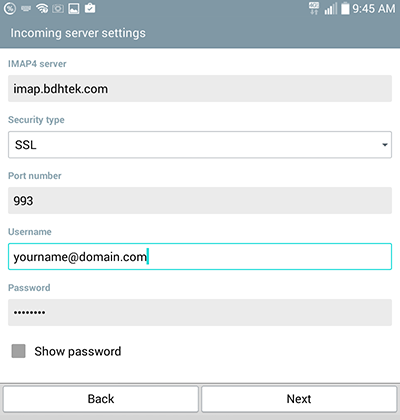
Step 7: Fill in the blanks accordingly making sure that Host Name for IMAP4 server is imap.bdhtek.com, Security type is set to SSL and Port number is set to 993. Make sure that the username is your full e-mail address. When the screen is completed select Next.
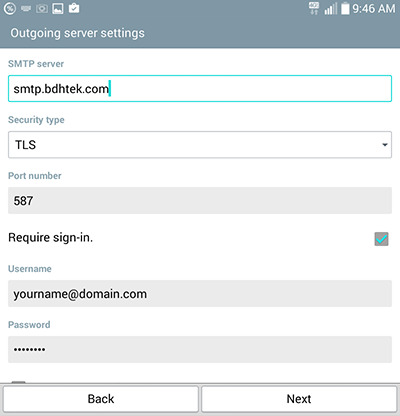
Step 8: Fill in the blanks accordingly making sure that Host Name for SMTP server is smtp.bdhtek.com, Security type is set to TLS and Port number is set to 587. Make sure that the Require sign-in box is checked and username is your full e-mail address. When the screen is completed select Next.
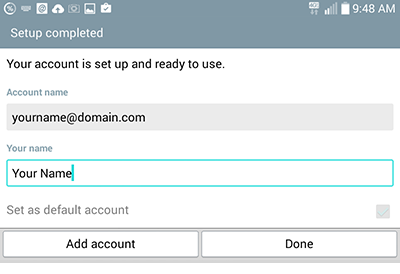
Step 9: Set the Account name to your e-mail address, or any other value to help you distinguish between other accounts on your device. Enter Your name as you wish it to be displayed when sending e-mails from your device. Select Done when finished.
Click here to go back to the e-mail configuration page.
Don't see what you are looking for? Have more questions? We're here to help. Just contact us for a free, no-obligation estimate.